Categories
Tools

The Self-Deprecation Jar

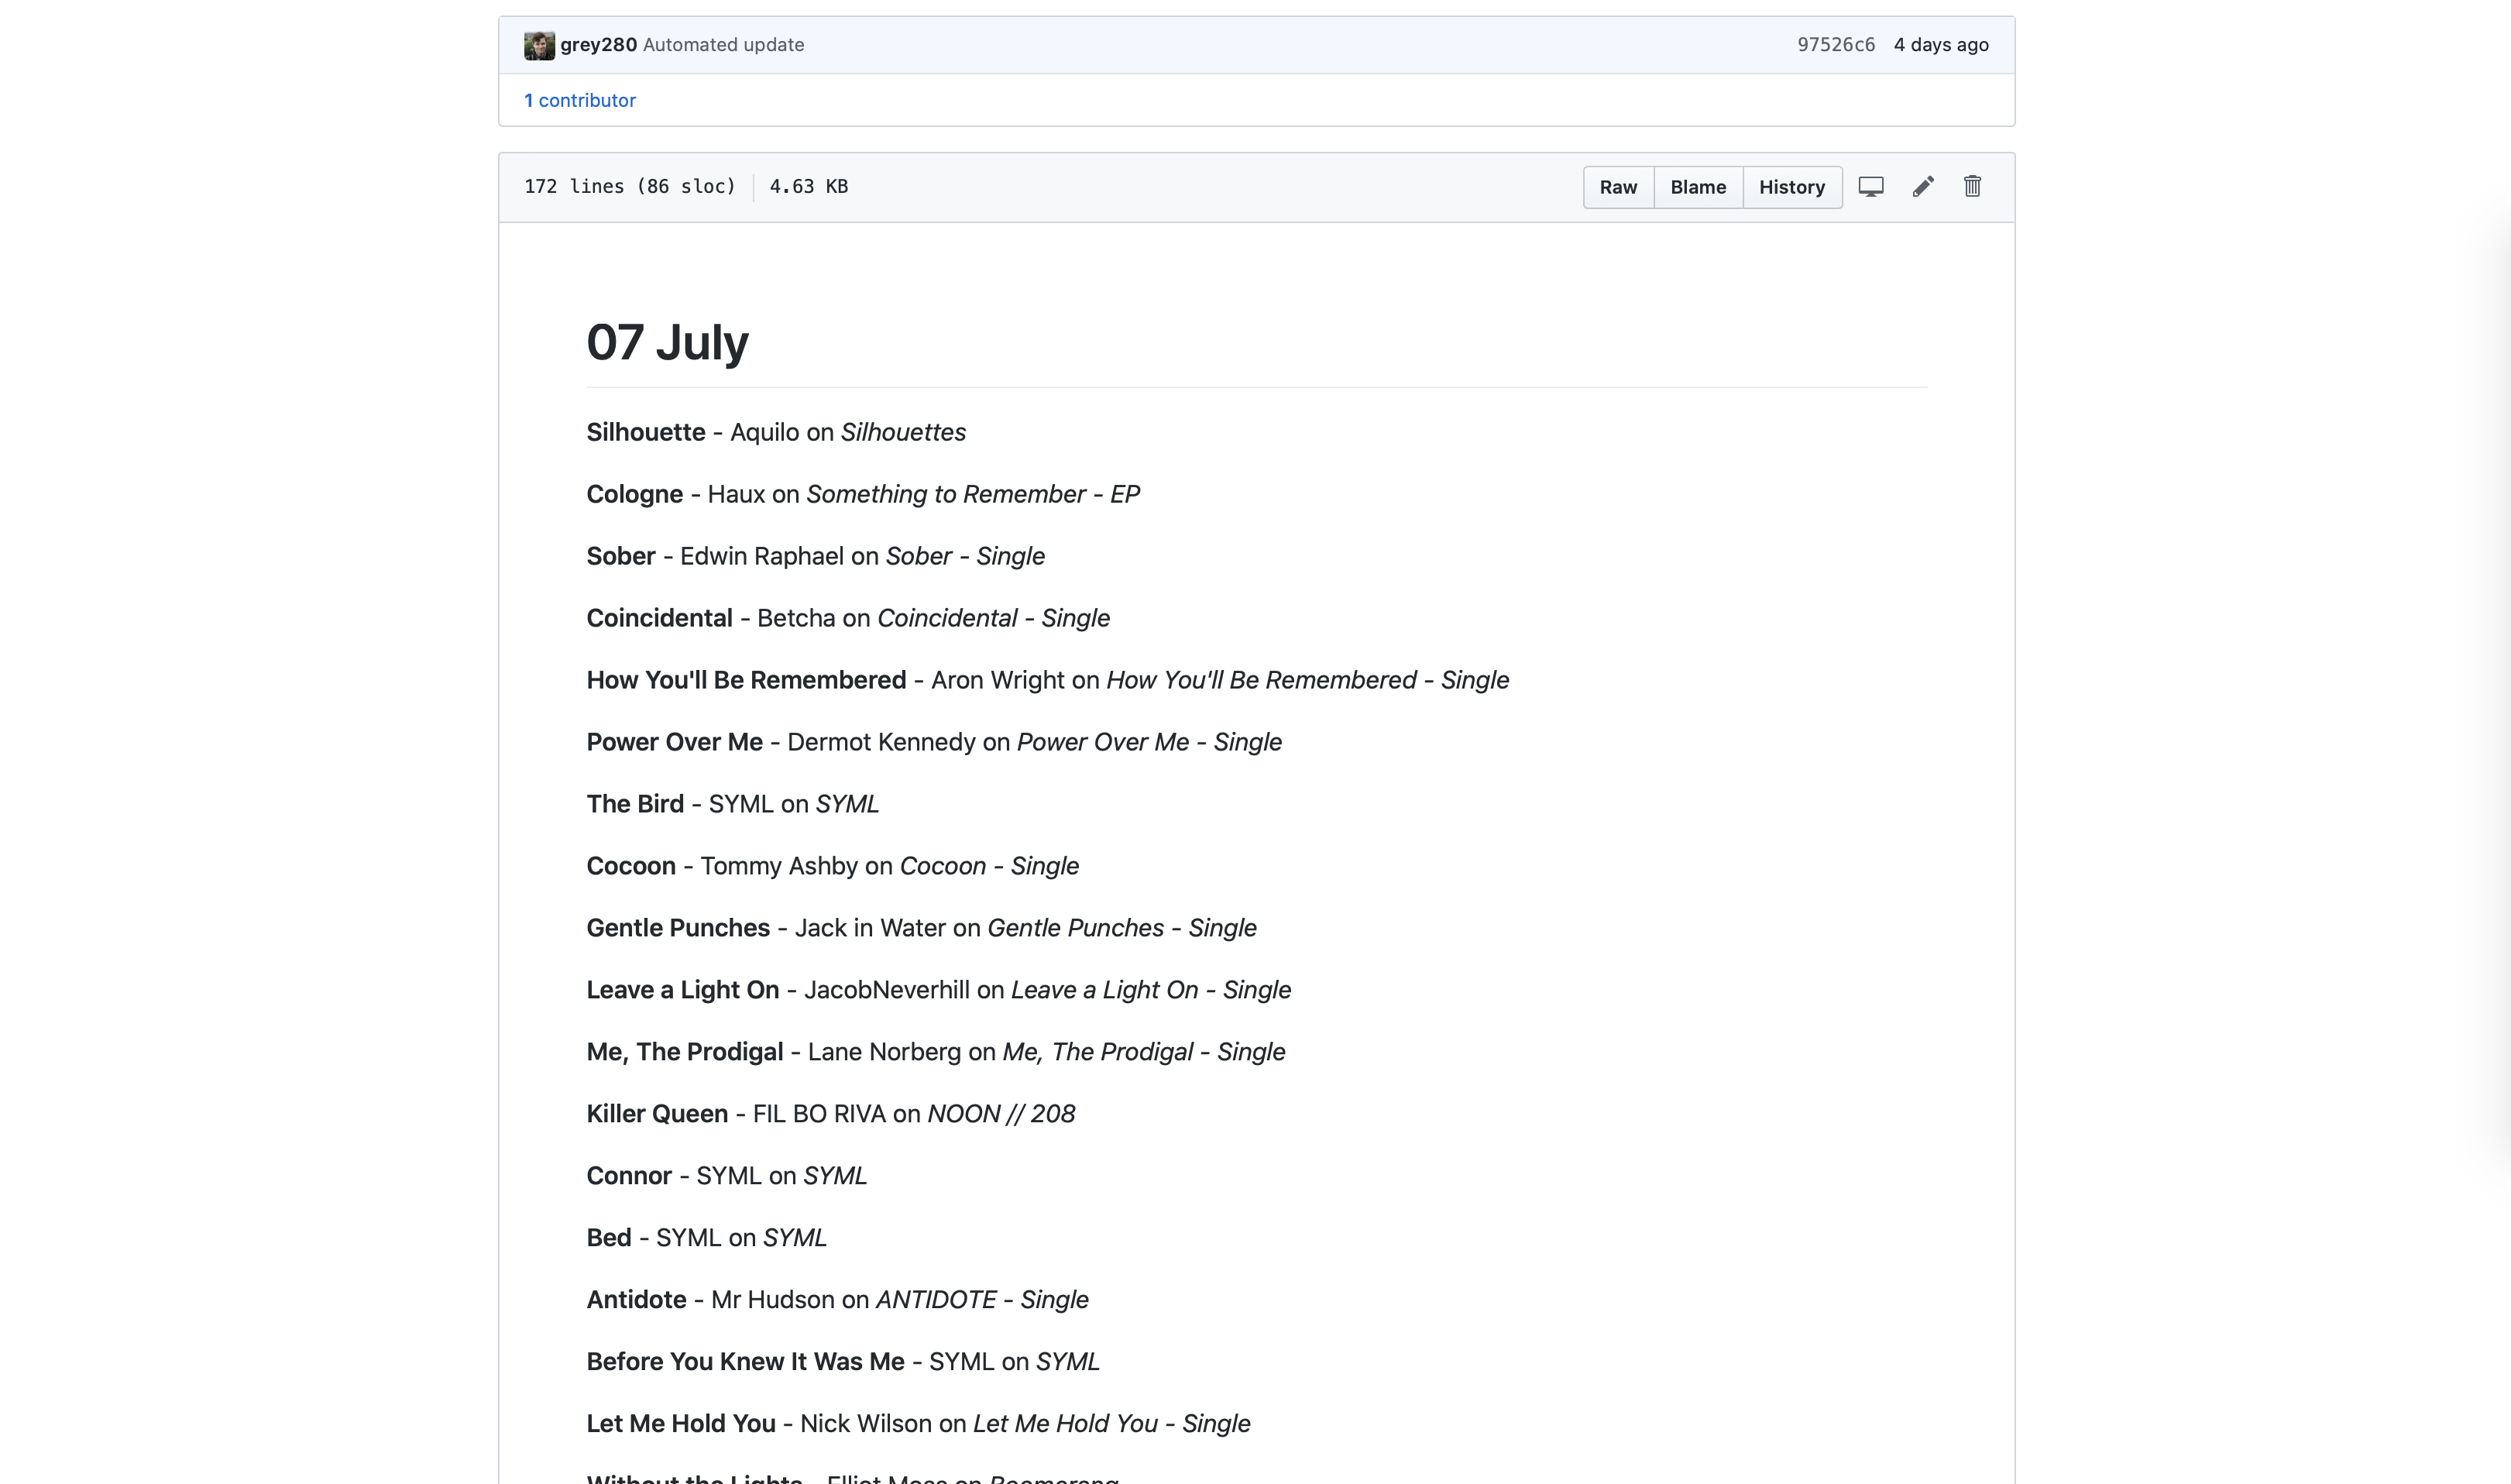
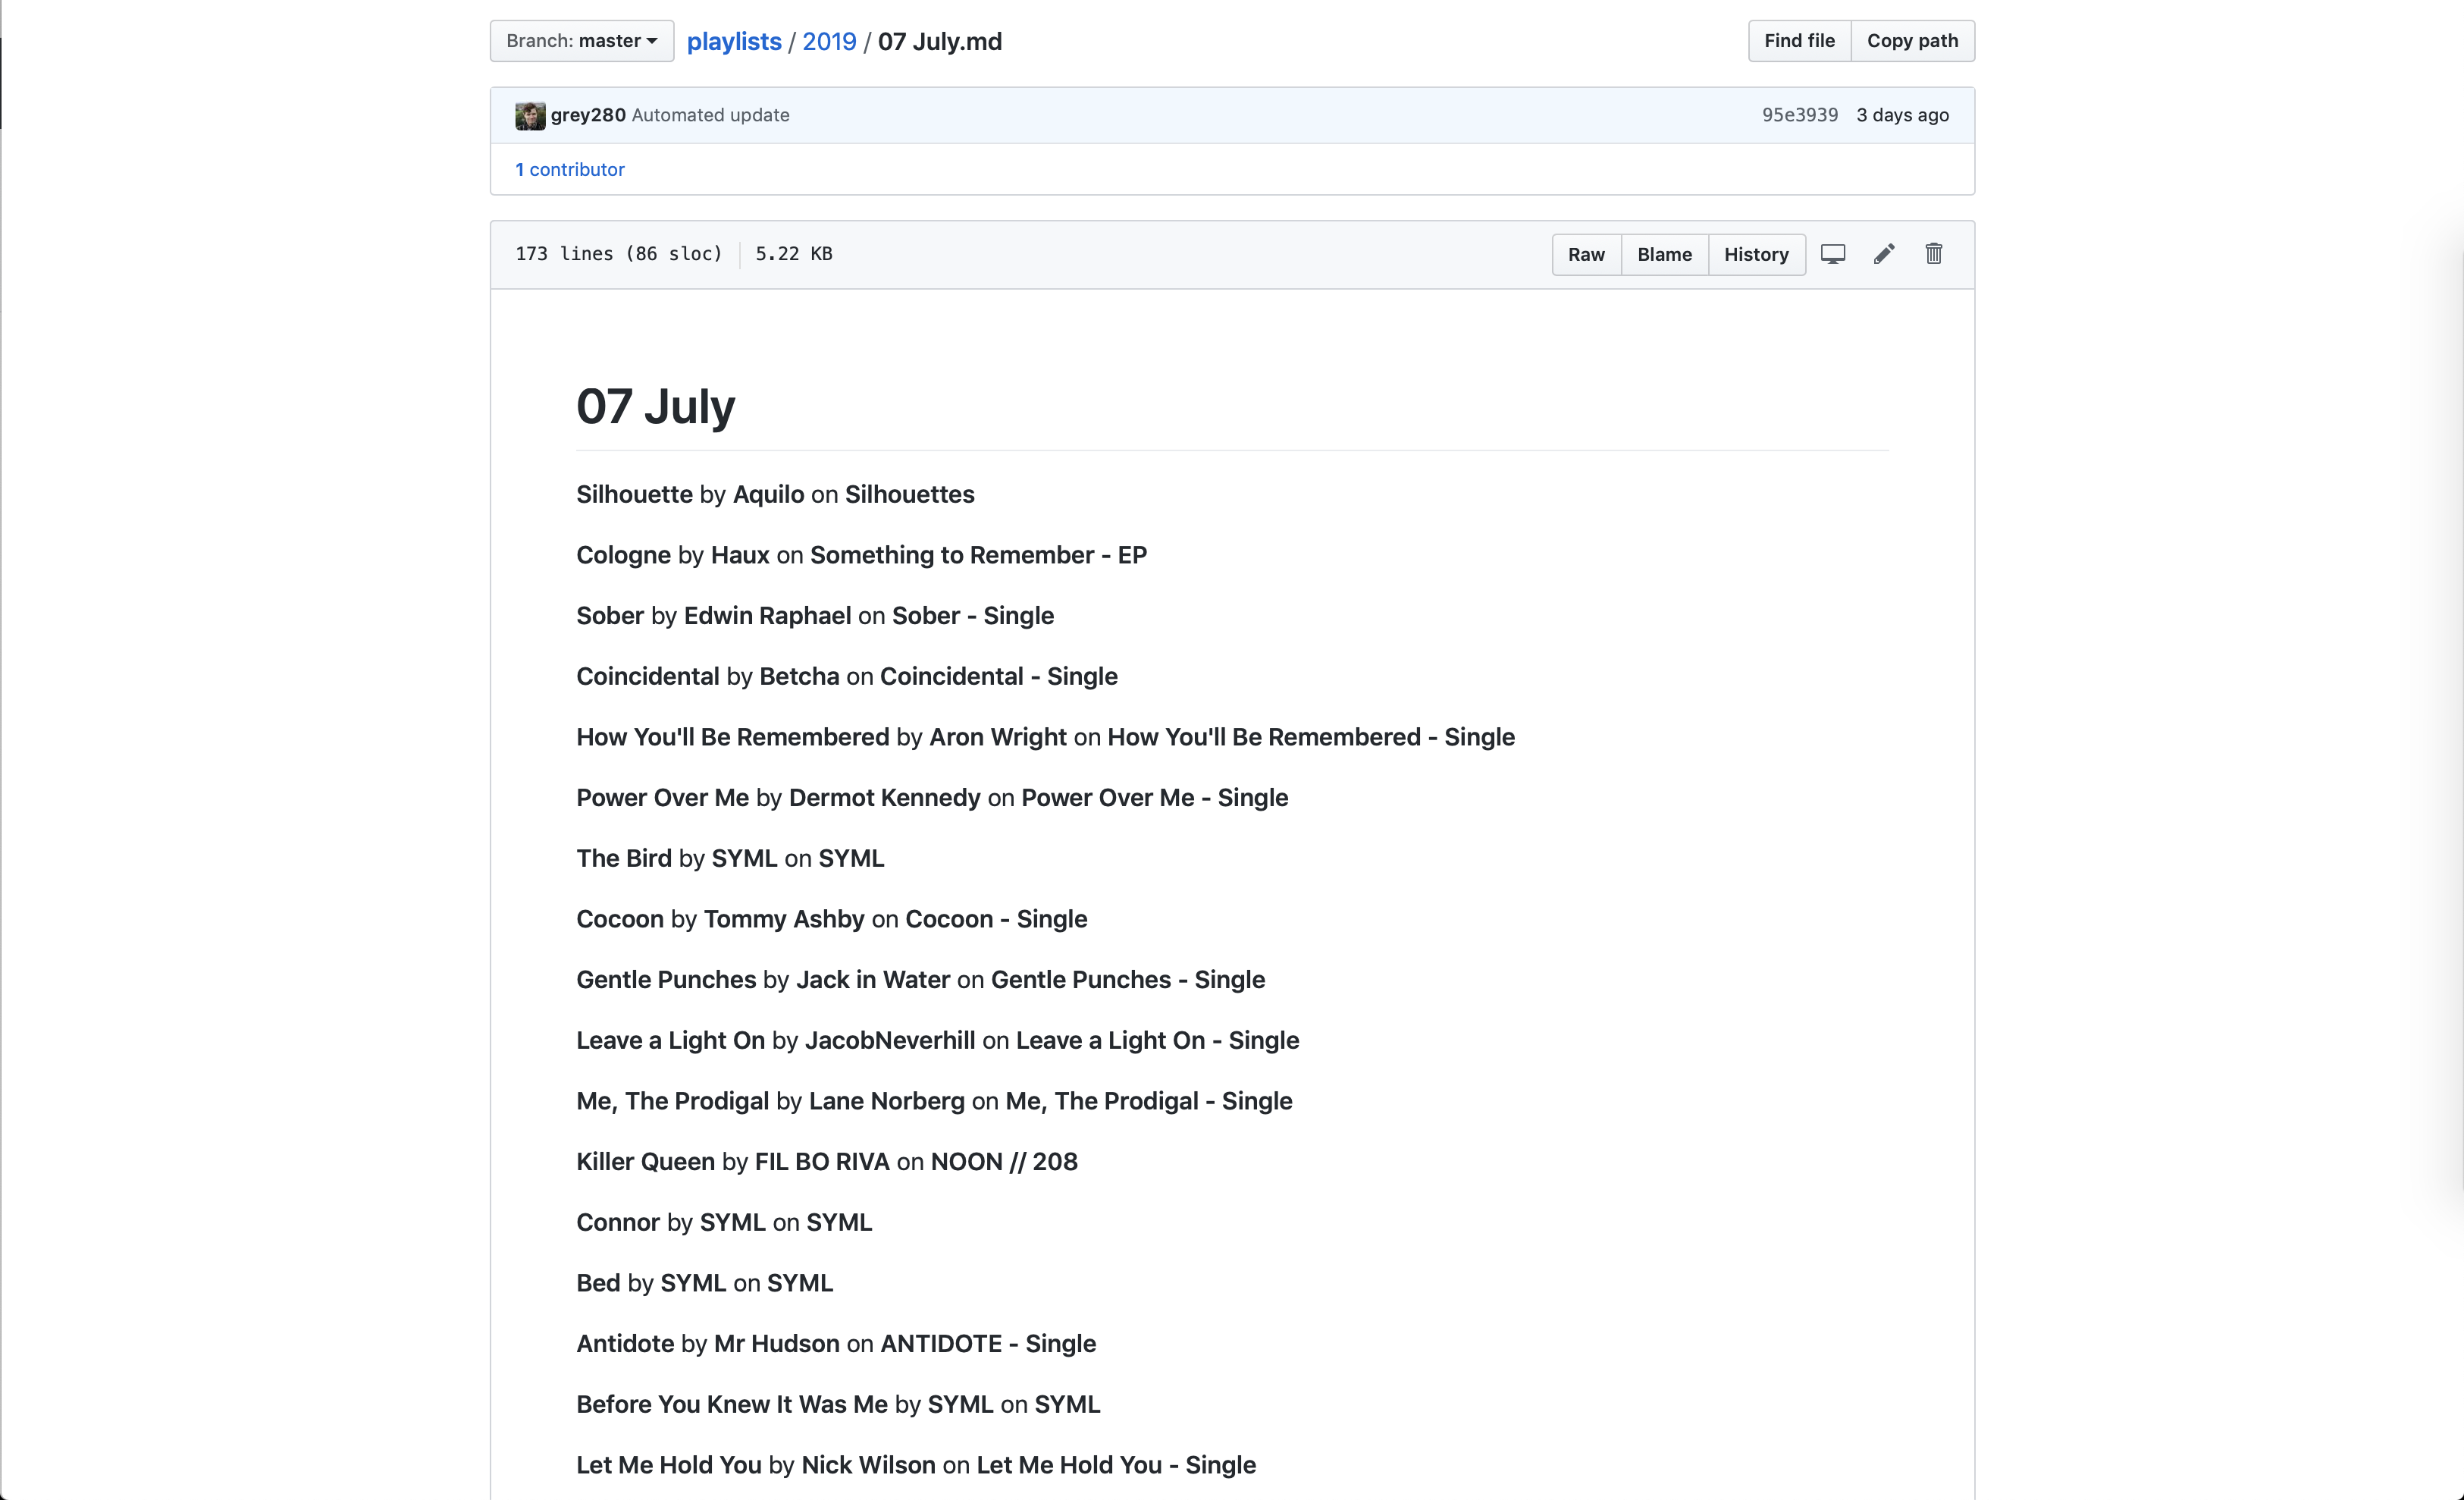
In the last few months, I’ve made surprisingly few changes to my home screen. One of them, though, was reorganizing what appears in the Shortcuts widget. I combined all my ‘playlist’ stuff into one Shortcut that checks what time it is and tries to guess what playlist I want, and then gives me a list of the options, in case it guesses wrong.1 With that additional space, though, I needed a new Shortcut to occupy the fourth slot. Can’t have an unbalanced home screen, after all!

What I eventually arrived at was the Self-Deprecation Jar. I can’t claim the idea as my own: I first came across it entitled “the self-depreciation jar,” but renamed it to reference self-deprecating humor.

The core idea is something roughly in the area of cognitive behavioral therapy, though I am emphatically not a mental health-care professional, so take what I say with a grain of salt.

The point, though, is that every time you say (or write, or think too loudly—pick a delineation that works well for you!) something negative about yourself, you put a dollar in the jar. (Or a quarter, or a penny—again, it’s meant as a very flexible system!)

I’ve found it a helpful thought technology: it draws attention, and imposes a negative penalty, on the sort of negative self-talk that’s far too easy to fall into. I suspect the former effect there is more meaningful than the latter, in the same way that people tend to have success toward their diet goals regardless of the diet, simply by paying more attention to what they’re eating.

Now, as a millennial, I own a great many mason jars… but I don’t actually own any cash. Instead, I put together a digital version of this in Shortcuts. In my implementation, I wanted to have the ‘cost’ be $1 put into my investment account—I’m still incurring an in-the-moment penalty, but the end result is a positive for Future Grey. Alternately, pull up a deserving charity and throw some money their way!2

Now, I do that investing via Acorns (shameless affiliate link!), which has a minimum of $5 for a transfer, so the Shortcut had to be a bit more complex than just an “Open App” action. Happily, I have Data Jar installed, which makes it nice and easy to store data across runs of a Shortcut. A little modular math later, and we’ve got a Shortcut that, every time you tap it, increments a counter; and every time that counter is a multiple of 5, it opens Acorns and throws me a notification to say “hey, that’s five, put in $5.”

After a bit of tinkering with the Shortcuts editor, I’ve arrived at this version, which will prompt you to customize as necessary—tweak the frequency, the message, and what app to open, and you’re off to the races.

And, hey. Be kind to yourself. Remember: You’re a lovely human being, and the world is a better place for having you in it.

  1. It’s an educated guess, really, considering the way I structure my playlists and my day.
  2. I’ve shared this idea here and there, and a fairly large Discord I’m a member of now has a custom :jar: emoji that we bring out when someone is being self-deprecating. I will take approximately no credit for that, though, as it’s my friend Madi who took it upon herself to be the spirit of kindness in the server and remind people to take care of themselves.
Categories
Programming Tools

Playlister

In the past couple months, I’ve had an ongoing series on converting iTunes playlists to text files, with a brief digression into scripting with Swift. While I doubt that I’m entirely done with the topic, I have reached a point where I’m ready enough to do another write-up.
This morning, I made playlister available to the public. It is not a consumer-facing application like my others; it is very much a tool for people who are comfortable with the command line.
In between the previous iteration of this tool and the current, I actually had a version of playlister built and shareable (Chase has that version installed on his Mac, actually) but, before releasing it to the public, I looked at the code and thought “I can do better.”1
So I buckled down and spent some time indulging in my love for API design, and tried some tricks I’ve been wanting to try.
The rewritten version ships with a library, LibPlaylister, that provides the basic ideas — protocols that allow for interacting with the library, playlists, and tracks; conversion to Markdown — as well as some neat new tricks. There’s some hooks for customization, such as the RatingFormatter protocol, and included FiveStarRatingFormatter, and the new LinkStore protocol, which provides a layer of abstraction on the SQLite-based caching of links.2
It was also an excuse to add to my Swift toolbox. I worked with SwiftCLI for a while, and then converted to ArgumentParser when that was released. I’ve done file interactions, and a lightweight database. I’ve learned a lot about Swift Package Manager.3 I learned a bit about XCTest, and figured out how to get it working in GitHub Actions. (And, more interestingly, figured out how to conditionally include frameworks in an SPM package. I wanted the tests running on Linux, but Linux… doesn’t have the iTunesLibrary framework, shockingly.)
I had fun building this, and will probably continue to tweak it. (I mean, it could be fun to get it automatically pulling links from the iTunes Search API, and just asking ‘is this the right link?’ instead of requiring manual entry.4)
For now, though, it’s ready enough to share, and made for a fun write-up and a good way to de-stress by tinkering.


  1. Interesting aside from giving that to Chase: Did you know that macOS has a ‘quarantine’ flag it puts on executables sent via AirDrop? That was some fun googling to figure out. The solution: xattr -d com.apple.quarantine ./playlister 
  2. That caching is definitely the biggest productivity gain of this, as compared to the previous version — now, when I go to write up my monthly playlist, the whole first part of the playlist doesn’t require any interaction at all. 
  3. Coming from working with nom’s package.json format at work, SPM Package.swift files are nice. Like, you can have comments in them! And, more, you can have actual code, so you can do neat stuff like this
  4. Although, at that point, I’d probably wind up writing it up as a SwiftUI app so I can show images. Which… might have been part of the inspiration for making LibPlaylister a separate library. 
Categories
Programming Technology Tools

Automated Playlist Backup With Swift

I mentioned in my post about scripting with Swift that I’d been working on something that inspired this. Well, here’s what it was: a rewrite of my automated playlist backup AppleScript in Swift. That version ran every hour… ish. Partly that scheduling issue is because launchd doesn’t actually guarantee scheduling, just ‘roughly every n seconds’, and partly it’s because the AppleScript was slow.1
Then I found the iTunesLibrary API docs, such as it is, and thought “well, that’d be a much nicer way to do it.”
And then I remembered that Swift can be used as a scripting language, cracked my knuckles, and got to work. (I also had some lovely reference: I wrote up my very basic intro post, but this post goes further in depth on some of the concepts I touched on.)

https://gist.github.com/grey280/0126ac93df1d52d91e78f52d97805246

Not the best API I’ve ever written, but not bad for something I threw together in a few hours. And I had fun doing it, more so than I did with the AppleScript one.
Oh, and it’s much faster than the AppleScript equivalent: this runs through my ~100 playlists in under a minute. So now I have it run every 15 minutes.2
(The configuration for launchd is about the same, you just replace the /usr/bin/osascript with the path to the Swift file, and make the second argument the full path to the directory where you want your backups going. See the original post for the details.)
I’m a bit tempted to turn this into a macOS app, just so I can play around with SwiftUI on macOS, and make it a bit easier to use. Of course, by ‘a bit tempted’ I mean ‘I already started tinkering,’ but I doubt I’ll have anything to show for a while — near as I can tell, SwiftUI has no equivalent to NSOutlineView as of yet, which makes properly showing the list a challenge. Still, it’s been fun to play with.


  1. I was going to cite this lovely resource, but since that website was built by someone who doesn’t understand the concept of a URL, I can’t link to the relevant section. Click ‘Configuration,’ then the ‘Content’ thing that’s inexplicably sideways on the left side of the screen, and ‘StartInterval’ under ‘When to Start’. 
  2. I’m also looking at the FSEvents API to see how hard it would be to set it up to run whenever Music (née iTunes) updates a playlist, but that… probably won’t happen anytime soon. 
Categories
Technology Tools

Automatic OCR with Hazel: The Easy Way

I have previously written about how to run OCR (Optical Character Recognition) on a PDF using Hazel and… a complicated pile of Python scripts and other software. Since I wrote that post, several of those pieces of software have been updated, and the core component has been, apparently, entirely abandoned.
Recently, while I was waiting for yet another keyboard replacement on my MacBook, I took another look at the OCR thing and found that there’s a much easier way available: OCRmyPDF.
It’s easy to install, assuming you’ve already got brew: brew install ocrmypdf
From there, it’s just a single action in Hazel. “Run embedded shell script: ocrmypdf $1
Admittedly, you can use some of their many settings to get something a bit nicer than just OCR; personally, I’m using --rotate-pages --deskew --mask-barcodes – the first two to help with variations in the input because I sometimes use a bed scanner, and the latter to help Tesseract, which can have issues with barcodes..
I’ve also paired it with a couple additional actions, just to keep everything organized:

I also took the time to stop using Dropbox as the go-between for my scanner and the Mac running Hazel; I’d forgotten that the scanner has a USB port. Plug in a cheap flash drive, and it’s available as a (very slow) file server. Mount the drive, add it as a Login Item so it’ll auto-mount on boot, and you can set Hazel automations to run right there. I’m not OCRing them there, though — like I said, it’s a very slow server, so it tags them ‘for OCR’ and moves them to my desktop.1


  1. With iCloud Drive handling my desktop, I’ve found it to be a pretty great ‘intake’ folder for all of my Hazel automations. It’s quite nice to be able to save a PDF from my phone, add a tag, and watch it disappear again as it’s auto-sorted, or throw a PDF on my desktop with a tag and see it pop in and out as the OCR runs. 
Categories
Technology Tools

Automatic Playlist Backup

You may have seen my monthly playlist posts on here; I put those together with a Shortcut that grabs the playlist, runs through all the songs, and makes a spirited attempt to fill in all the links off the iTunes Store Search API without hitting their mysterious rate limits.1
It’s not the be-all end-all, though — I’ve been wanting more and more lately to start making more and smaller playlists, things to match different moods. Y’know, the way normal people do playlists.
But, of course, I’m me, and I want to have the history of my music tastes, because, hey, sometimes you feel like reminiscing.
So, what to do? Well, I’ve done some work with the iTunes Library XML file, and while it’s sorta true that just wrapping that in, like, Git or something for version control could work, there are three problems with that:
1. iTunes is a weird, weird piece of software, and I don’t want to mess with its files too much.
2. The result is not at all human-readable.
3. It isn’t an excuse to learn something new.

So, what else can I do? Well, I’ve done a very light bit of tinkering with AppleScript,2 so I know it can interact with iTunes pretty well; there’s gotta be a way to do it there, right?
There is! I’ll share the script in a moment, but the functionality I wanted was “clear out the folder I give you, replicate my playlist hierarchy as directories, and spit out each playlist as a markdown file listing the title, artist, and album for each track, then commit the changes to a git repository.”
It took a while to get working — I’ve learned that AppleScript’s repeat with in loop is hilariously slow, unless you change it to repeat with in (get). I’ve also found out that the way it works with paths is super annoying, and that while it can write to a file, it can’t conceptualize creating a directory. There’s some great workarounds for that.
Now, here’s the script: I’ve left a couple {replace me} type things where you should fill in variables – namely, the path to your home directory (or wherever else you want it), and your own username, to fix some permission issues that can crop up.3

https://gist.github.com/grey280/9b95fdc8c16ec544a214f159bd008bbc

But wait, there’s a caveat: it’ll fail if the folder you gave it isn’t a git repository. Considering that I wanted this as a ‘set it and forget it’ sort of thing, I figured it wouldn’t be worth the effort to write a bunch of conditional code to do the setup. Do it yourself: git init && touch temp.txt && add temp.txt && git commit -m "Initial commit" takes care of all you need.4
Oh, and if you want it to be pushing the changes somewhere, because you’re paranoid and want everything in someone’s cloud, at least, add the remote and set it as the default upstream: git remote add origin {remote URL} && git push --set-upstream origin master

Set It and Forget It

So that’s pretty neat, but it isn’t really “set it and forget it,” now, is it? You’ve gotta open up Script Editor, pull up the script, and run it every time you want it to back up your playlists. Possibly workable for some people, but I don’t have a home server for nothing. Let’s make this truly automated.
From my prior experience with AppleScript, I know that you can set it off through a shell script by way of /usr/bin/osascript, so my first thought was to add a cron job. After a bit of research, though, I found out that Apple would prefer we use launchd instead, so I set about figuring out how to do that.
Now, if this wasn’t all an excuse to learn how to do something, I’d probably have just bought one of the GUI clients for launchd; Lingon looks pretty nice, and seems to work well.5
The process for writing your own launchd process is actually pretty simple: create a .plist file containing some XML, add it to the launchd queue with launchctl, and you’re off to the races!6
(Hint: if you want an easier way to see if your script runs than waiting and checking git log, you can add a line to the start of the AppleScript: display notification "Running playlist export".)
So, creating the XML: you want it to live in ~/Library/LaunchAgents/, and the convention is the usual reverse-TLD. (You can also use local.{your username}.{your script name}, but I’m so used to using net.twoeighty. in bundle identifiers that I just went with that.)
The important parts are the ProgramArguments array and the StartInterval integer. For ProgramArguments, give it the path to osascript,7 and as your second argument, the full path to the .scpt of the AppleScript.
Then, set the StartInterval to the number of seconds between runs; I’m using 3600, because hourly change tracking seems frequent enough for my purposes.
The result:

https://gist.github.com/grey280/f643a159a426ae25eb57139afd4f3cd5

(You can skip the StandardErrorPath and StandardOutPath – they help a little with debugging, more so if you’re running a full shell script and not a wrapper on an AppleScript.)
Finally, add it to the queue:

launctl load ~/Library/LaunchAgents/net.twoeighty.backupPlaylists.plist

And there you go – every hour, your iTunes playlists will get backed up to your Git repo, and you’ll have a nice history of your music tastes over time.


  1. iTunes Search is a really fun API to use, because via Shortcuts you only get a single input to it, and it is really bad at finding anything. Seriously — try to find anything off the top charts. As far as iTunes Search is aware, Billie Eilish doesn’t exist. 
  2. In lieu of Shortcuts having a way to set the volume on a HomePod, I’ve achieved a similar result with “run SSH script: osascript -e tell iTunes ...”. 
  3. Related: don’t put this anywhere with weird macOS access control things. Y’know, places like “Documents”, “Desktop”, anywhere in iCloud Drive or Dropbox, or even “Downloads”, which apparently is a much worse work directory than I thought it was. I eventually configured it to run out of and into my Public directory, because I figured that’d be easier than trying to mess around with the permissions somewhere else. 
  4. Without a file there, the git rm -rf . && git clean -fxd bit at the beginning is unhappy. 
  5. I used the ‘free trial’ version as a viewer for my works in progress; I figured if I’d done something really wrong, it’d complain about it being an invalid file or something. 
  6. He said, glossing over the couple hours of “fight me, macOS, why isn’t this working” 
  7. Probably /usr/bin/osascript, but you can use which osascript in Terminal to check. 
Categories
Tools

Recipes

Cooking! Once you’ve figured out the basics (don’t put stuff in the oven and forget about it, the result is, at best, your house smelling like burnt sadness for a while), it can be pretty fun.1
A lot of the cooking you do can be “let’s see what’s in the fridge and pantry and make something out of that,” but there’s also a lot to be said for working from a recipe.2
You can, of course, go old-school, have a huge stack of cookbooks and magazine clippings and handwritten notecards. Personally, I’d call that giving in to my pack-rat tendencies a bit too much, so I prefer to go digital.3
My recipe management software of choice is Paprika; they’ve got a Mac app, too, and I believe a Windows app?4 Regardless, it’s pretty easy to put stuff into, and they’ve got some nice stuff for actually cooking with (check ingredients off as you go, automatic conversions, multiple timers, it’s almost like the app was made for this).
When you first open it up, it can be a bit empty, and their suggestion of “putter around the internet and find some stuff to get started” didn’t quite work for me. You remember that mention of cookbooks and clippings and notecards? That’s what we used to have; now it’s a much more compact setup, and I’m quite willing to share. About 900 recipes, neatly organized to help you start off your collection. Enjoy!


  1. And, as a fun bonus, it’s generally cheaper than buying ready-made food! 
  2. Especially if you’re baking; cooking is an art, baking is a science. 
  3. Same amount of stuff, but much easier to search through! And the storage is a lot cheaper, too. 
  4. You can tell how long it’s been since I used Windows, not by the fact that I don’t know, but by the way that I don’t know if they’re called apps on Windows or not. Program? Software? Who knows. 
Categories
Technology Tools

Automatic OCR with Hazel

I recently got a copy of Hazel and have been doing a bit of tinkering around with various ways to automate my file management. Because, y’know, I can do it by hand, but why would I when I can make a computer do it for me? That’s the whole point of computers, after all.
I have a great deal of PDFs — something about scanning every paper, handout, receipt, or bit of mail I’ve received in the past six years or so does that. And if you have a commercial-grade scanner, it can be pretty easy to automate that stuff with Hazel, as the scanner will run everything it scans through Optical Character Recognition, and the PDF you’ll get will be nicely searchable.1
Unfortunately, the scanner I’ve got, while a pretty good one, is in a different price tier than the ones that’ll do the automatic OCR, so I needed a way of doing that after the fact.
There are some guides to doing that, such as this one,2 but they tend to require either Acrobat Pro or PDFPen Pro, which both have price tags above the “a couple hours of tinkering and no money” that I was hoping to spend on this project.
Throw a few computer science keywords on what you’re Googling, though, and you’ll find stuff that’s more in that vein.3 So, compiled here after I used Chase as a guinea pig, a guide to putting together automated OCR for free.4

Prerequisites

Before we can automate OCR, we need a few things installed. Open up Terminal, and let’s go.
sudo easy_install pip
(For those of you who didn’t put a few years into classes on computer science, I’ll try to explain as I go along. That first word, sudo, means “super user do”, basically; it’s the Admin Override for terminal commands. Be careful with it, you can make quite a mess tinkering with it. The next bit, easy_install, is part of the version of Python that comes default with macOS. pip is what we’re telling easy_install to install; ironically, pip is the modern version of easy_install.5)
The first time you use sudo in a Terminal session, you’ll be prompted for your password; if you’re not an administrator on the mac you’re using, you’ll need an administrator password. That’s a good opportunity to check with the administrator if this is something you should be doing at all.
Once pip is done installing, we’re going to get another installation helper, Homebrew:
sudo /usr/bin/ruby -e "$(curl -fsSL https://raw.githubusercontent.com/Homebrew/install/master/install)"
Again, this is just installing a piece of software, Homebrew.

Components

Now that we’ve got the infrastructure built, we’re going to install the components that the OCR system uses.
brew install tesseract
brew install ghostscript
brew install poppler
brew install imagemagick
(If any of those fail, you can try to rerun them with sudo added to the front, i.e. sudo brew install tesseract.)
For reference: Tesseract is the actual OCR engine, Ghostscript makes it easier to interact with the PDF format,6 Poppler is similarly PDF-related, and ImageMagick handles conversion between basically any types of images.
Finally, we’ll use pip to install a specific version of another:
sudo pip install reportlab==3.4.0
ReportLab is yet another PDF-related library, but version 3.5.0 has some compatibility issues with the OCR system.

Installation

Finally, we’ll get the actual thing that ties these all together:
sudo pip install pypdfocr
PyPDFOCR is a lovely open-source project that ties all these components together into a single thing. Once it’s installed, you can use it from the terminal:
pypdfocr {filename}, where you replace {filename} with the non-OCR’d version of the file you want in OCR’d form.7 It’ll take a bit to run, but once it’s done, you’ll have a file (named {filename}_ocr.pdf) that contains, hopefully, the text of the document you scanned.89
Go ahead and test it; if you get an error about the file not being found, see if the file name or directory structure included a space. If it did, tweak the command a bit: instead of pypdfocr {filename} you’ll need to do pypdfocr "{filename}".
You may also get an error that mentions File "/Library/Python/2.7/site-packages/pypdfocr/pypdfocr_pdf.py", line 190… and a bit more after that. If it’s AttributeError: IndirectObject…, then you’ll need to tweak part of the code.10
cd /Library/Python/2.7/site-packages/pypdfocr
sudo nano pypdfocr_pdf.py
That’ll open up nano, a very lightweight text editor. Press control+W, type in orig_rotation_angle = int(original_page.get and hit return; this will take you to the line we want to edit. It’ll read orig_rotation_angle = int(original_page.get('/Rotate', 0)) — we want to change it to orig_rotation_angle = int(original_page.get('/Rotate', 0).getObject()) by adding .getObject() before the last close-paren.
Once you’ve done that, press control+X, then hit return again. Try OCRing something again; it should work this time.

Using Hazel

Now all you need to do to have Hazel automatically OCR a PDF is, in the actions, add a “Run shell script” action, use “embedded script”, and in the ‘edit script’ bit, put in pypdfocr "$1".
Keep in mind, this doesn’t replace the PDF in place, it’ll create a copy with _ocr added to the end of the name. If you’d like the original to be deleted once it’s done, rather than having Hazel do it, just add a second line to the embedded script: rm "$1"
You’ll probably want another rule to move the OCR’d versions somewhere else; while you’re building that, you can also use the ‘rename’ action to remove the _ocr bit, just tell it to replace “_ocr” with “”.
Have fun automating!


  1. And, as a result, useable for Hazel sorting by way of the ‘contents’ filter. 
  2. I was hoping to link to Katie Floyd’s original post about it, but her website is down at the moment, so I guess I won’t be doing that. 
  3. Technically speaking, I think all I added was “site:github.com”, but that did the trick. 
  4. This assumes you have a Mac, since you’re working with Hazel, and that you’re willing to do a bit of tinkering in the terminal, which I also kinda assumed, since you’re working with Hazel. 
  5. I think that’s irony; I was a computer science major, not an English major. 
  6. “the Printable Document Format format” 
  7. Tip: you can type pypdfocr  (including the trailing space) and then drag-and-drop the PDF from Finder into the Terminal, and it’ll automatically fill in the filename. If any part of the path includes a space, though, it’ll fail, so for filenames or folders that contain spaces, do pydpfocr "{filename}" – type pypdfocr ", drop in the file, and then ", and then hit enter. 
  8. Caveat: Tesseract isn’t perfect, especially with regard to the formatting, so don’t expect this to give you a perfectly-formatted version of whatever you scanned. That said, the process is lossless: {filename}_ocr.pdf is built by taking the original PDF file and then adding an invisible text layer over the analyzed text, so you won’t lose any information by doing this, you just might not gain anything useful. 
  9. Note that it’ll spit {filename}_ocr.pdf out not necessarily where the original file was, but wherever the Terminal session currently is; if you’re unsure about where that is, you can use pwd to have it displayed, or just open . to open it in Finder. 
  10. Don’t ask me why this is all “you might have to do this”, because I genuinely don’t know why this problem only pops up some of the time. 
Categories
Tools

Minimalist YouTube

YouTube’s got all sorts of paid offerings now, and they sure do like advertising them. I really like the amount of full-screen ads I get in their mobile app informing me that I can watch whichever sport is in season, live, with YouTube TV; really makes you wonder why we worried about targeted advertising, if the biggest ad company in the world still hasn’t figured out that I don’t care about sports.

Now, while I don’t use an ad-blocker to stop the actual advertisements that play before the videos (I’d like the people I subscribe to to get some amount of income from their job, at least), I’m quite happy to cut out portions of the YouTube interface that annoy me. (My tool of choice for this is 1Blocker; the Mac app has all sorts of fun customizations available. Their iOS app also has the tools, but Safari Content Blockers don’t work on apps, so it’s not as helpful there.)

After spending half an hour digging around in the structure of the average YouTube page, I’ve arrived at the above version of the site: no suggested videos, no notifications or messages, and no reminders that YouTube has ways to directly take my money and route a small portion of it to the content creators I like. Basically all that I’ve left are the portions I actually use: watching videos, the Subscriptions page (I miss when you could export that to RSS), and the Watch Later list.

If that sounds like something you’d like, I organized the 1Blocker ruleset and uploaded it here. You’ll need 1Blocker installed to use it, but if you don’t have some sort of tracker-blocker going already, that’s the one I’d recommend.

Categories
Articles Education Tools

Productivity and Organization

Over time I’ve acquired a reputation for being an organized (and, presumably, productive) person; occasionally, people ask me for tips.

Be as efficient as you can.

In the interest of following my own tips, I’m writing this up as a blog post so I have something I can quickly send to folks when they ask. Automate things where you can; if you’ve got the time to learn it, Workflow is a wonderful tool.1 I’ve got a good chunk of my morning routine compressed into pressing a single button on my phone and, depending on how complex my calendar is for the day, answering a question or two.

Don’t trust your brain to remember things

The human brain is a wonderful machine! Unfortunately, it’s terrible at remembering things, but also convinced that isn’t the case. The good news is, we invented writing, and then computers, both of which make it much easier to remember things. So don’t just put stuff in your head and assume it’ll stay there; it doesn’t matter what you use, but have somewhere permanent that you can put stuff. Depending on what you prefer, you can use a planner or notebook, or go all digital like I have. Personally, I use a combination of the system-default Calendar app, syncing through Google Calendar, with Drafts 42 as my “writing thoughts down in the middle of the night” app, Day One as a journal, and Ulysses for any longer-form writing or note-taking.3

Have a to-do list

Technically speaking, this is an extension of the above, but don’t trust yourself to remember things you have to do in a day. If they’re at a specific time or meeting with someone, they go in your calendar; otherwise, they go on the to-do list. Again, this can be on paper if that’s your style, but if you’re a big ol’ tech nerd, you’ve got a bounty of options. The built-in Reminders app is… there, and it’s not great, but it’s free and meets the bare minimum of functionality. Personally, I’m a big fan of Things 3,4 but Omnifocus is also a big name in the field, if (in my opinion) over-complicated. That said, task management apps like that are a huge market on the iOS and macOS app stores, as well as just online, so you should be able to find something you like.
Once you’ve started using it, I recommend the “vaguely Getting Things Done” style, which consists of “write stuff down as soon as you think of it, and file it away in the proper place when you’ve got time.” The important thing is to not go “oh, I’ll remember that later,” because there’s a really good chance you won’t.

Figure out what you’re spending your time on

You know that feeling like you’ve wasted a whole day? That’s stupid, but it’s also hard to convince your brain you’ve been productive if you don’t actually know what you’ve been spending your time on. Having a to-do list helps with this; you can look at your list for the day and see all the things you’ve checked off.5 Beyond that, you may want to try time tracking; I’m a fan of toggl and use it all the time. I keep the website pinned in a tab on my laptop, and rather than use their app, I’ve got some Workflows built that interact with their web API.6 It works pretty well for me; I know what I’m spending time on, and I can also use it for some very accurate billing, should I need to.

Clean up

Finally, staying organized is not only helpful for quickly finding things, it also just tends to make you feel better about everything. Take time when you can to organize your work and living spaces. If you’re currently in college, you’ve probably got ten thousand pages of various papers drifting around; next time it’s time to buy textbooks, I recommend going digital (it’s slightly cheaper, and then you only have to carry around your laptop/tablet, which you were probably gonna be carrying anyways, and you can search in your books, which is quite helpful). For the zillions of pages of handouts you get, invest in a scanner that can do duplex scanning and a recycle bin; it’s amazing how much space you can save by getting rid of all the papers.7 Once you’ve got things digitized (or, preferably, as you get them digitized), come up with a neat organizational system and stick to it. For school stuff, semester/term lines are a nice dividing line; if you’re doing the whole ‘adult life’ thing, the tax year is a good one.8

I’m going to call it done there. If you skipped to the end, the single most important thing I’d like you to get from this is brains are bad at remembering things; write stuff down. That’s my number one tip, so if you only take one thing from this, that’d be it.
If you’ve got any questions, I’ve recently brought back the ability for people to leave comments, so go ahead and do that.9 And hey, maybe I’ll do more posts like this, I enjoy doing the writing, and it’s fun to be able to support the various apps I use.10


  1. In September 2018, or thereabouts, it’s going to disappear and be replaced by Shortcuts, but from what we’ve seen in public betas, Shortcuts has the same functionality, some new features, and a new coat of paint, so if that link doesn’t work, just search the App Store for ‘Shortcuts.’ 
  2. Drafts 5 has been out and received very good reviews for its automation capabilities, but all I really want from the app is a dark color scheme and the ability to open directly into a new document, so the old version works for me. 
  3. That link is to Ulysses’ iOS app, but thanks to their subscription system, you pay for it on one platform and get it on iPad and Mac as well; mostly I use it on the Mac, but it’s nice to have it available wherever. 
  4. That’s their macOS app; they’ve also got separate iPhone and iPad apps. 
  5. This is why I’ve got Things set up not to sweep things away as soon as I check them off, but to leave them there until the end of the day. If I look at my list and it’s empty, nothing to do and looking like I’ve done nothing, the “oh god I wasted the whole day” feeling gets so much worse
  6. If you’d like to know more about those, leave something in the comments that I’ve just remembered I opened back up. 
  7. You don’t necessarily need to do what I did, which was a roughly five-year-long process of clearing out every paper I own, but then, you’re hopefully less of a pack-rat than I was, too. 
  8. Oh, and don’t leave those files in a single place; the nice thing about being digital is that it’s easy to make copies, and when you’ve got copies, you don’t have to worry that you’ll lose the original. These days, I throw all the current stuff into iCloud Drive, but I used to use Dropbox; older things get moved from whichever cloud to an external hard drive that’s backed up with Backblaze
  9. It’s one of the only ways to get in touch with me. Bonus productivity tip, for those of you reading the footnotes: social media sucks, stop using it. 
  10. Shameless self promotion: as an app developer, I know how danged hard it can be to actually make a living from the App Store. Support the people making the stuff you use.