Categories
Programming Tools

Playlister

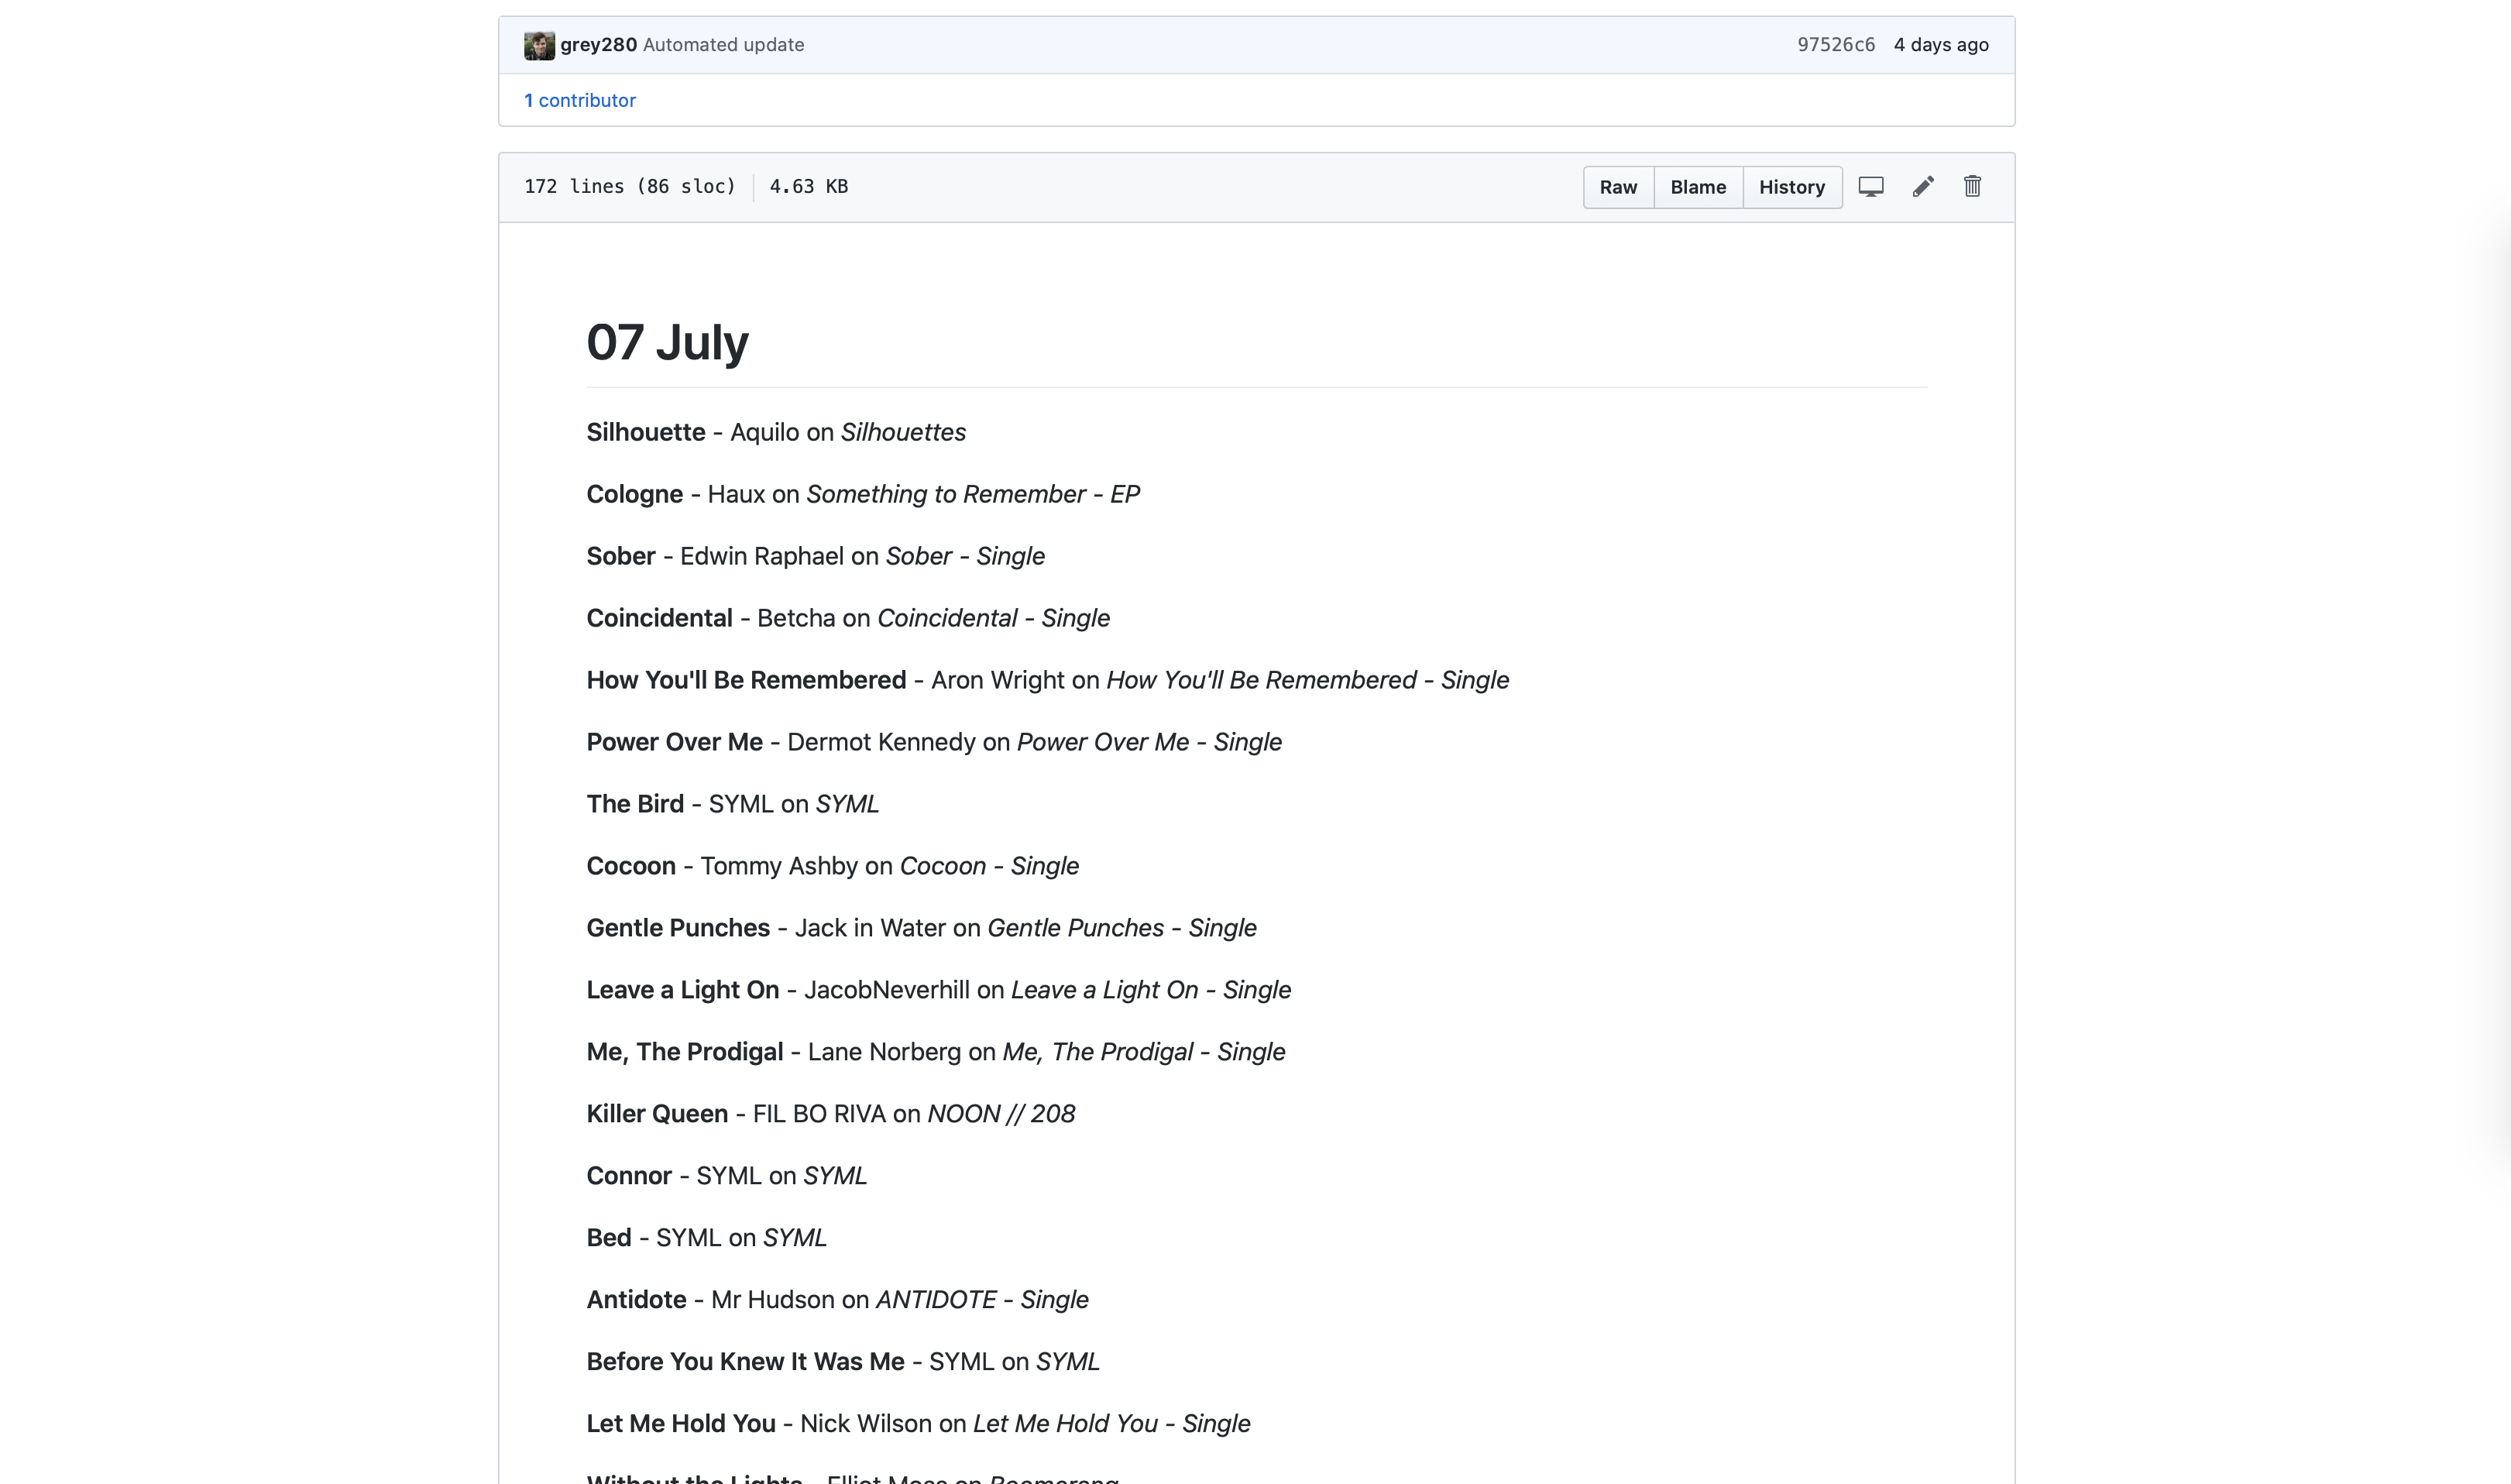
In the past couple months, I’ve had an ongoing series on converting iTunes playlists to text files, with a brief digression into scripting with Swift. While I doubt that I’m entirely done with the topic, I have reached a point where I’m ready enough to do another write-up.
This morning, I made playlister available to the public. It is not a consumer-facing application like my others; it is very much a tool for people who are comfortable with the command line.
In between the previous iteration of this tool and the current, I actually had a version of playlister built and shareable (Chase has that version installed on his Mac, actually) but, before releasing it to the public, I looked at the code and thought “I can do better.”1
So I buckled down and spent some time indulging in my love for API design, and tried some tricks I’ve been wanting to try.
The rewritten version ships with a library, LibPlaylister, that provides the basic ideas — protocols that allow for interacting with the library, playlists, and tracks; conversion to Markdown — as well as some neat new tricks. There’s some hooks for customization, such as the RatingFormatter protocol, and included FiveStarRatingFormatter, and the new LinkStore protocol, which provides a layer of abstraction on the SQLite-based caching of links.2
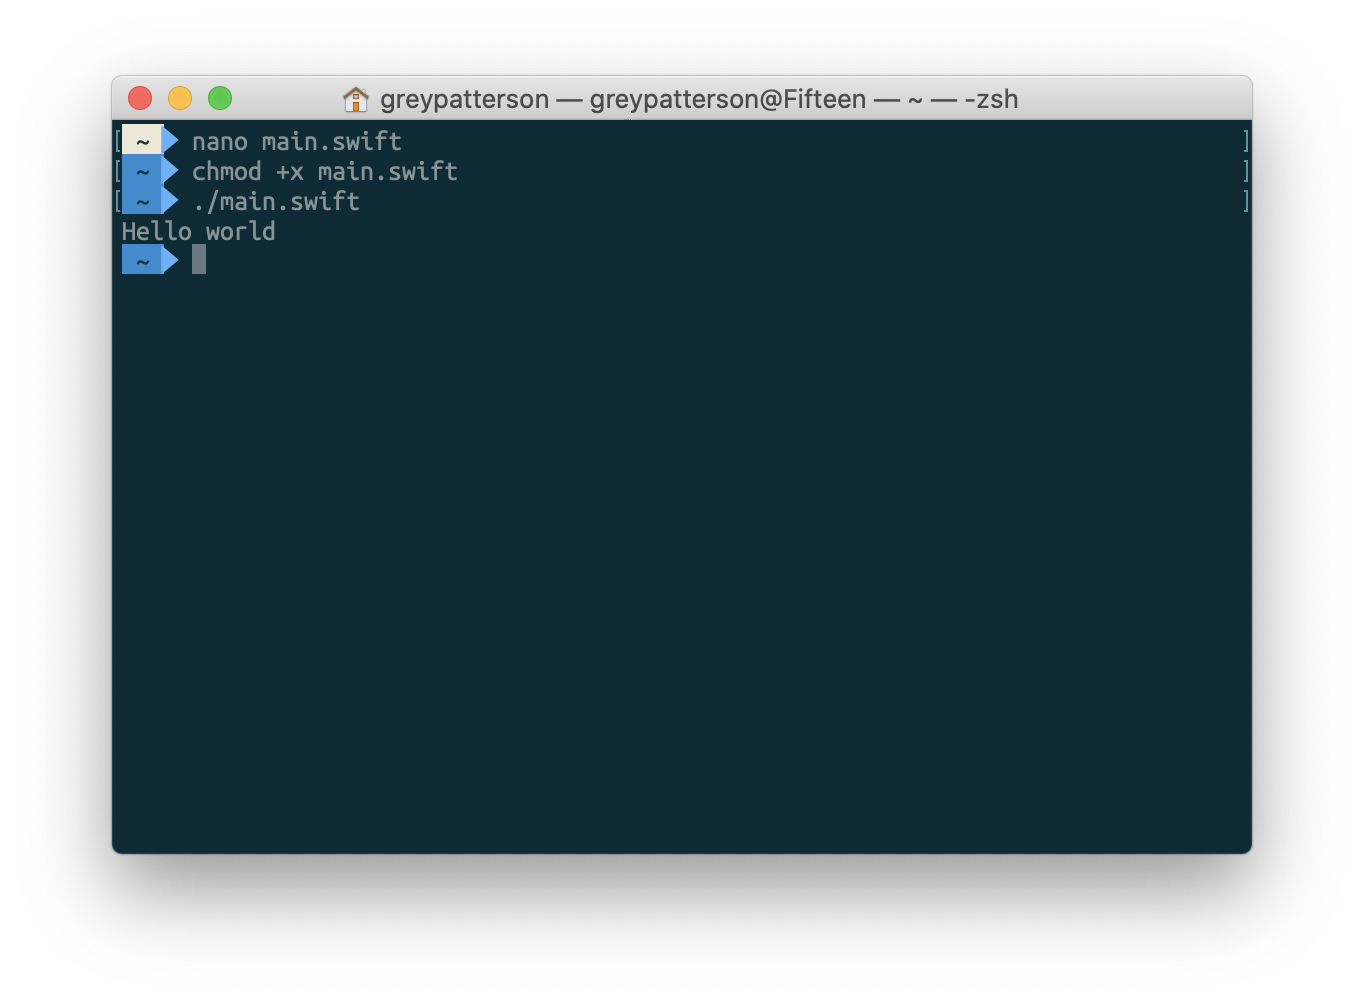
It was also an excuse to add to my Swift toolbox. I worked with SwiftCLI for a while, and then converted to ArgumentParser when that was released. I’ve done file interactions, and a lightweight database. I’ve learned a lot about Swift Package Manager.3 I learned a bit about XCTest, and figured out how to get it working in GitHub Actions. (And, more interestingly, figured out how to conditionally include frameworks in an SPM package. I wanted the tests running on Linux, but Linux… doesn’t have the iTunesLibrary framework, shockingly.)
I had fun building this, and will probably continue to tweak it. (I mean, it could be fun to get it automatically pulling links from the iTunes Search API, and just asking ‘is this the right link?’ instead of requiring manual entry.4)
For now, though, it’s ready enough to share, and made for a fun write-up and a good way to de-stress by tinkering.


  1. Interesting aside from giving that to Chase: Did you know that macOS has a ‘quarantine’ flag it puts on executables sent via AirDrop? That was some fun googling to figure out. The solution: xattr -d com.apple.quarantine ./playlister 
  2. That caching is definitely the biggest productivity gain of this, as compared to the previous version — now, when I go to write up my monthly playlist, the whole first part of the playlist doesn’t require any interaction at all. 
  3. Coming from working with nom’s package.json format at work, SPM Package.swift files are nice. Like, you can have comments in them! And, more, you can have actual code, so you can do neat stuff like this
  4. Although, at that point, I’d probably wind up writing it up as a SwiftUI app so I can show images. Which… might have been part of the inspiration for making LibPlaylister a separate library. 
Categories
Programming Technology Tools

Automated Playlist Backup With Swift

I mentioned in my post about scripting with Swift that I’d been working on something that inspired this. Well, here’s what it was: a rewrite of my automated playlist backup AppleScript in Swift. That version ran every hour… ish. Partly that scheduling issue is because launchd doesn’t actually guarantee scheduling, just ‘roughly every n seconds’, and partly it’s because the AppleScript was slow.1
Then I found the iTunesLibrary API docs, such as it is, and thought “well, that’d be a much nicer way to do it.”
And then I remembered that Swift can be used as a scripting language, cracked my knuckles, and got to work. (I also had some lovely reference: I wrote up my very basic intro post, but this post goes further in depth on some of the concepts I touched on.)

https://gist.github.com/grey280/0126ac93df1d52d91e78f52d97805246

Not the best API I’ve ever written, but not bad for something I threw together in a few hours. And I had fun doing it, more so than I did with the AppleScript one.
Oh, and it’s much faster than the AppleScript equivalent: this runs through my ~100 playlists in under a minute. So now I have it run every 15 minutes.2
(The configuration for launchd is about the same, you just replace the /usr/bin/osascript with the path to the Swift file, and make the second argument the full path to the directory where you want your backups going. See the original post for the details.)
I’m a bit tempted to turn this into a macOS app, just so I can play around with SwiftUI on macOS, and make it a bit easier to use. Of course, by ‘a bit tempted’ I mean ‘I already started tinkering,’ but I doubt I’ll have anything to show for a while — near as I can tell, SwiftUI has no equivalent to NSOutlineView as of yet, which makes properly showing the list a challenge. Still, it’s been fun to play with.


  1. I was going to cite this lovely resource, but since that website was built by someone who doesn’t understand the concept of a URL, I can’t link to the relevant section. Click ‘Configuration,’ then the ‘Content’ thing that’s inexplicably sideways on the left side of the screen, and ‘StartInterval’ under ‘When to Start’. 
  2. I’m also looking at the FSEvents API to see how hard it would be to set it up to run whenever Music (née iTunes) updates a playlist, but that… probably won’t happen anytime soon. 
Categories
Programming Technology

Swift Scripting

I’m a bit of a fan of Swift, though I don’t get to tinker with it nearly as much as I’d like. Recently, though, I did some tinkering with Swift as a scripting language, and thought it was pretty fun! (I’m planning another blog post about what, exactly, I was trying to do later, but for now just take it as a given.)
The most important step is to have Swift installed on your machine. As a Mac user, the easiest way is probably just to install Xcode, but if you’re looking for a lighter-weight solution, you can install just the Swift toolchain. Swift is also available for Ubuntu, which, again, takes some doing. If you want Swift on Windows… well, it’s an ongoing project. Personally, I’d say you’ll probably have better luck running it in Ubuntu on the WSL.
Alright, got your Swift installation working? Let’s go.
Step 1: Make your Swift file. We’ll call it main.swift, and in true Tech Tutorial fashion, we’ll keep it simple:

print("Hello world!")

Step 2: Insert a Magic Comment in the first line:

#!/usr/env/swift
print("Hello world!")

Step 3: In your shell of choice, make it executable:

$ chmod +x ./main.swift

Step 4: Run!

$ ./main.swift
> Hello world!

No, really, it’s that simple. The magic comment there tells your interpreter ‘run this using Swift’, and then Swift just… executes your code from top to bottom. And it doesn’t have to be just function calls — you can define classes, structs, enums, whatever. Which is the real benefit to using Swift instead of just writing your script in Bash; object-oriented programming and type safety are lovely, lovely things.

My next post is going to go into some of the more interesting stuff you can do, with a lovely worked example, but for now I’ll add a couple other things:

  • By default, execution ends when it gets to the end of the file; at that point, it will exit with code 0, so Bash (or whatever) will assume it worked correctly. If you want to exit earlier, call exit(_:) with the code you want. exit(0) means “done successfully,” while any other integer in there will be treated as an error.1
  • print(_:) outputs to stdout, which can be piped using |. If you want to output an error (to be piped with 2>, or similar) you need to import Foundation, and then call FileHandle.standardError.write(_:).2
  • To explicitly write to stdout, it’s FileHandle.standardOutput.write(_:).

  1. Which is useful if your script is going to be called programmatically. ./main.swift && echo "It worked!" will print “Hello world” and then “It worked!” with exit(0), but just “Hello world” if you add exit(1) to the end of the file. 
  2. And note the types here – this expects Data, not String, so to write a string, you need to convert it by adding .data(using: .utf8)!